Harnessing Mpx5700dp with Arduino
The integration of the Mpx5700dp with Arduino opens up a plethora of opportunities in precision pressure sensing solutions. As a critical component in various projects, understanding its use and benefits can greatly enhance efficiency and performance in DIY and professional applications. This article delves into the specifics of using the Mpx5700dp sensor with Arduino and provides expert insights into creating optimal projects.
Introduction to Mpx5700dp and Arduino
The Mpx5700dp is a differential pressure sensor that offers high precision and reliability. When paired with an Arduino, it becomes a powerful tool for detecting pressure changes across a variety of applications, from industrial systems to home automation projects. The Arduino's open platform provides flexibility and ease of programming, making this combination attractive to hobbyists and engineers alike. The growing interest in DIY projects and the need for automated systems in various industries have made such integrations essential for developing more effective solutions.
The Core Features and Benefits of Mpx5700dp
The Mpx5700dp sensor boasts a wide range and fine sensitivity, able to measure pressures from 0 to 700 kPa. This range makes it suitable for applications requiring accurate pressure readings, such as fluid dynamics experiments or HVAC control systems. Furthermore, the sensor's robust nature allows it to function reliably in harsh environments. The sensor features a piezoresistive element that offers superb repeatability and minimal drift, key factors that enhance its reliability. Additionally, its small size allows it to be used in compact applications where space is limited, all without sacrificing performance.
Understanding the Technical Specifications of Mpx5700dp
Before proceeding with the integration, understanding the technical specifications of the Mpx5700dp sensor is crucial. Some of the important specifications include:
- Pressure Range: 0 to 700 kPa, enabling the measurement of a broad array of pressure levels.
- Output Signal: An analog voltage output that varies linearly with pressure—typical output is 0.2 to 4.7 V.
- Temperature Range: Operable within -40°C to 125°C, allowing for use in various environmental conditions.
- Accuracy: ±0.25% of full scale which ensures readings are reliable and precise for critical applications.
- Supply Voltage: Requires a voltage supply of 5 V which is readily available from Arduino boards.
Integrating Mpx5700dp with Arduino: A Step-by-Step Guide
Successfully integrating an Mpx5700dp sensor with an Arduino involves a series of meticulous steps to ensure accurate data readings and sensor efficiency. Below, a comprehensive guide outlines the necessary steps to achieve this integration:
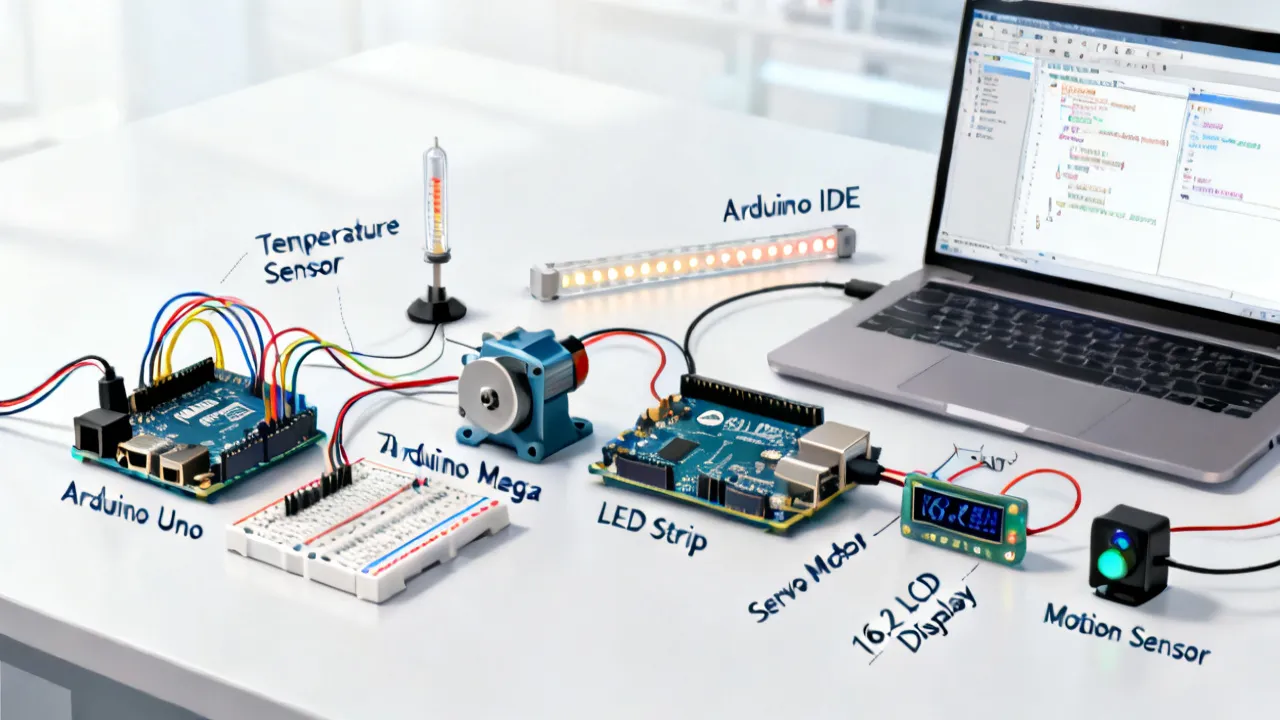
- Gather Components: Start with the necessary hardware components: the Mpx5700dp sensor, an Arduino board (such as Arduino Uno), jumper wires, and a breadboard. Ensure that you also have access to a computer for programming the Arduino, as this will be crucial for the next steps.
- Sensor Setup: Identify the pressure ports on the Mpx5700dp for connection with the pressure source. Ensure these are securely placed to avoid measurement errors. The differential nature of the Mpx5700dp means that you will need to connect the high-side pressure source to one port and the low-side (or reference) pressure to the other. This connection is essential for accurate differential pressure readings.
- Wiring the Components: Use jumper wires to connect the sensor's VCC to the Arduino's 5V pin, GND to ground, and output pin to one of the Arduino’s analog inputs (e.g., A0). Pay close attention to the orientation of the wires, ensuring that all connections are snugly fitted to prevent signal loss or sensor damage.
- Programming the Arduino: Write or utilize pre-existing Arduino code to read the analog signal from the sensor. The code should convert the voltage output to a pressure value in kPa. Utilize the Arduino IDE for writing the script, which includes functions for analog read and converting the voltage to a pressure level through scaling equations based on the sensor's output characteristics.
- Testing the Setup: Deploy the setup with controlled pressure sources and verify readings displayed on the Arduino's Serial Monitor for accuracy. This phase is crucial; ensure that you test varying pressure values to examine how effectively the sensor responds to changes. Logging these results will help identify any flaws in the setup or programming.
| Component | Description |
|---|---|
| Mpx5700dp Sensor | Differential pressure sensor measuring up to 700 kPa. |
| Arduino Board | Flexible microcontroller board used for interfacing and programming tasks. |
| Jumper Wires | Used for electrical connections between the Arduino and sensor. |
| Breadboard | A baseboard for assembling temporary circuits. |
Applications of Mpx5700dp Sensor with Arduino
The versatility of the Mpx5700dp sensor allows it to address a variety of use cases effectively when paired with Arduino. Here are a few noteworthy applications:
- Environmental Monitoring: Track and report atmospheric pressure changes for weather prediction models. By coupling this sensor with weather station setups, enthusiasts can gather valuable data, contributing to climate research.
- Industrial Pressure Monitoring: Essential for maintaining safe and efficient operations in manufacturing processes. In an industrial environment, monitoring differential pressure can indicate blockages or failures in a system, providing early warnings.
- Automotive Testing: Used in assessing pressure changes in exhaust and fuel systems for performance diagnostics. The sensor can provide insights into system efficiency or identify leaks that may need addressing, improving vehicle performance and safety.
- Home Automation: When integrated into smart home initiatives, the Mpx5700dp can help in regulating HVAC systems by ensuring optimal pressure levels, enhancing energy efficiency and comfort.
- Applications in Research: Many scientific experiments require precise pressure measurements to understand fluid dynamics, for example, using the sensor in laboratory environments to verify hypotheses or calibrate equipment based on real-time data.
Frequently Asked Questions (FAQs)
- Can the Mpx5700dp be used for gas pressure measurements? Yes, it is suitable for both gas and liquid pressure measurements, making it highly versatile. The sensor’s differential capabilities allow it to handle various fluids as long as the characteristics are met.
- What is the accuracy level of the Mpx5700dp sensor? The sensor offers an accuracy of ±0.25% of full scale, ensuring precise readings. This level of accuracy is sufficient for most applications, whether they are experimental or industrial.
- Do I need additional components to stabilize the voltage? Generally, the Arduino's onboard power is sufficient, but for highly sensitive applications, using a voltage regulator can be beneficial. Filtering capacitors can also be implemented to smooth out the voltage supply further, ensuring consistent sensor performance.
- What programming libraries are recommended for beginners using Arduino with the Mpx5700dp? While there are no dedicated libraries specifically for the Mpx5700dp due to its simple output signal, libraries like Arduino’s AnalogRead function can be used to simplify code while accessing the sensor.
- How long do the Mpx5700dp sensors last? The lifespan can vary depending on environmental conditions and usage; however, under standard operating conditions, these sensors can reliably function for thousands of hours without significant performance degradation.
Programming Example for Arduino and Mpx5700dp
Let’s walk through a simple Arduino sketch to read values from the Mpx5700dp sensor. This example assumes that you have wired the sensor correctly as outlined previously. The code below will read the analog values from the sensor and convert those to pressure readings:
#define SENSOR_PIN A0   // Pin where the sensor is connected

void setup() {
  Serial.begin(9600); // Start Serial communication for debugging
}

void loop() {
  int sensorValue = analogRead(SENSOR_PIN); // Read the analog value
  float voltage = sensorValue * (5.0 / 1023.0); // Convert the reading to voltage
  float pressure_kPa = (voltage - 0.2) / (4.5 / 700.0); // Scale to pressure (in kPa)

  Serial.print("Pressure: ");
  Serial.print(pressure_kPa);
  Serial.println(" kPa");
  delay(1000); // Wait for a second before the next reading
}
This code sets up the Arduino to read data from the Mpx5700dp sensor continuously. The conversion formula is tailored based on the sensor's output characteristics, where 0.2 V corresponds to 0 kPa and 4.7 V corresponds to 700 kPa. Thus, by implementing this sketch, you can monitor pressure changes over time effectively.
Interfacing Advanced Features with Mpx5700dp
For developers looking to extend the functionality of the Mpx5700dp in their projects, there are several advanced features and tools that can be incorporated:
- Data Visualization: Consider integrating with a visual interface like Processing or Python's Matplotlib library to visualize pressure data in real time. This can help in discerning patterns and anomalies in measurements.
- Wireless Communication: By using modules such as the ESP8266 or Bluetooth modules, data from the Mpx5700dp can be sent to mobile devices or cloud platforms for remote monitoring, making it ideal for IoT applications.
- Data Logging: Implementing SD card modules with your setup allows you to log pressure readings over time, useful for research or project documentation.
Conclusion
Integrating the Mpx5700dp with an Arduino set-up presents a myriad of possibilities for both amateur developers and professional engineers. Whether for educational projects or complex industrial systems, the sensor provides the necessary precision and reliability required for effective pressure monitoring. As innovations in digital sensor technology and DIY prototyping continue to converge, the Mpx5700dp-Arduino combination is likely to remain a staple in versatile pressure-sensing solutions. The extensive breadth of accessible applications and the ease of integration with other technologies position the Mpx5700dp not just as a sensor but as a gateway to advanced projects and innovations.
Future Prospects: Upgrades and Developments
The landscape of sensor technology is ever-evolving. As we delve into more complex projects, several advancements can enhance the use of the Mpx5700dp sensor:
- Smart Sensors: As technology progresses, integrating artificial intelligence into pressure sensors can offer predictive maintenance features, wherein sensors can diagnose issues before they occur based on pressure trends and historical data.
- Automated Measurement Systems: Future developments can see the rise of fully automated systems that not only measure but also react to environmental changes. For example, sensors connected in a network could communicate to optimize process flows in industrial contexts.
- Improved Calibration Techniques: Enhanced software for calibration will make it easier for end-users to set up their systems accurately. This may include more intuitive interfaces and algorithms that automatically adjust readings based on environmental factors.
- Integration with Renewable Energy Systems: As sustainability becomes a priority, pressure sensors like the Mpx5700dp could be key components in renewable energy systems—monitoring pressures in wind turbine hydraulics or water systems in solar energy setups.
In conclusion, the integration of the Mpx5700dp with Arduino is a testament to how accessibility in electronics can lead to innovation across multiple fields—from educational experimentation to real-world applications. The ongoing journey of exploration and creativity in this area is bound to yield lasting contributions to technology-centric solutions for both industry and individuals.
-
1

Explore the Tranquil Bliss of Idyllic Rural Retreats
-
2
Unlock the Full Potential of Your RAM 1500: Master the Art of Efficient Towing!
-
3
Leveraging High-Interest CDs for Optimized Investment Returns
-
4
How to Take Advantage of Debt Consolidation Loans: Key Strategies
-
5
Understanding Debt Consolidation Loans: Weighing Advantages and Disadvantages